Create this Hot Air Balloon Card
- Carole Willis

- May 22, 2019
- 2 min read
Start with an idea of what you think you want your card to look like. Then gather the supplies you'll need. I wanted to create a Birthday card with a hot air balloon
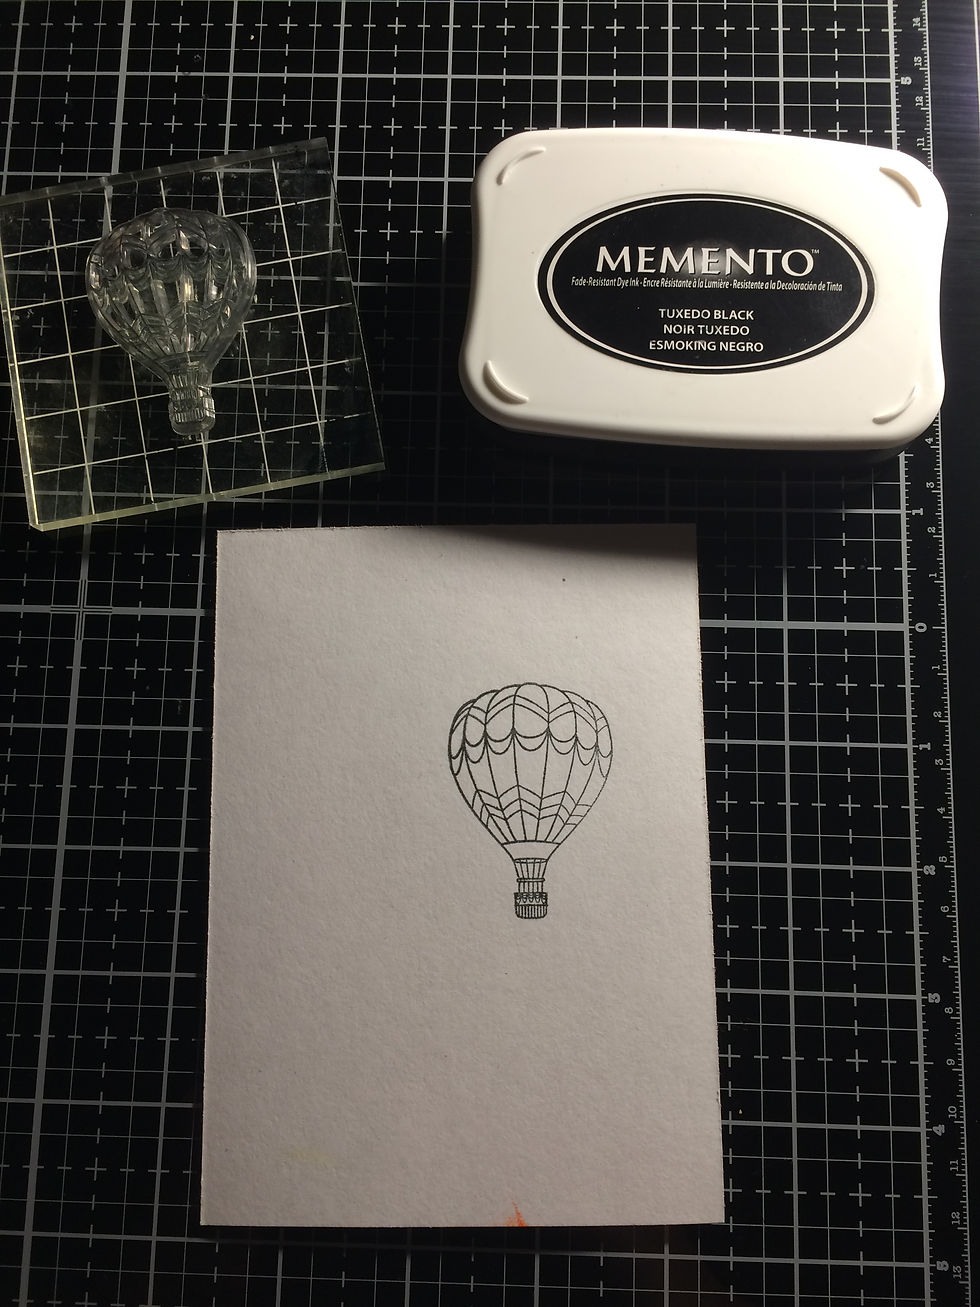
in the sky with clouds in the background. I gathered a card blank, my stamp set that included the hot air balloon I wanted and my Tuxedo Black Momento ink pad. I stamped the image where I wanted it to be and then went on to the next step.

I stamped the image onto a full sticky note and cut it out then placed it over the hot air balloon. I gathered My Favorite Things cloud stencil and some Broken China Distress Oxide and a make up blending brush. I used the blending brush to lightly blend in the ink from the stencil rotating it each time as I went down the card panel.

I removed the mask and placed it back onto the stamp set as it can be used several times before it looses it's stickiness. I used a stamp set I received in Issue 157 of Papercraft Essentials back in 2018. I stamped the sentiment I wanted and now have an image I can color.

After choosing my colors from my very limited copic marker collection, I colored in the hot air balloon image.

Once my image was colored in, I matted it on some blue card stock and then added it to the card base. To add some texture and make the hot air balloon stand out more, I covered it in Glossy Accents to add just that little touch of shine.

Now my card is complete and needs to be laid a side so that the glossy accents can dry. I try to let it dry overnight just to be sure.
Here is the completed card. From start to finish it took about 10-15 minutes to make.

Normally, I don't make just one card at a time, so I made a few other cards as well. You never know when you're going to need a birthday card, so i like to keep a few different styles and variations on hand.

Comments